| Installation of a Clutchlite at a Harley-Davidson® Twin Cam 88B | |
|---|---|
| Adjust clutch working area to the Harley-Davidson® factory specifications at the clutch cable adjusment screw in front of the engine. | |
| Now you are done and enjoy this new feeling! | |
| Download: install_harley_en.pdf | |
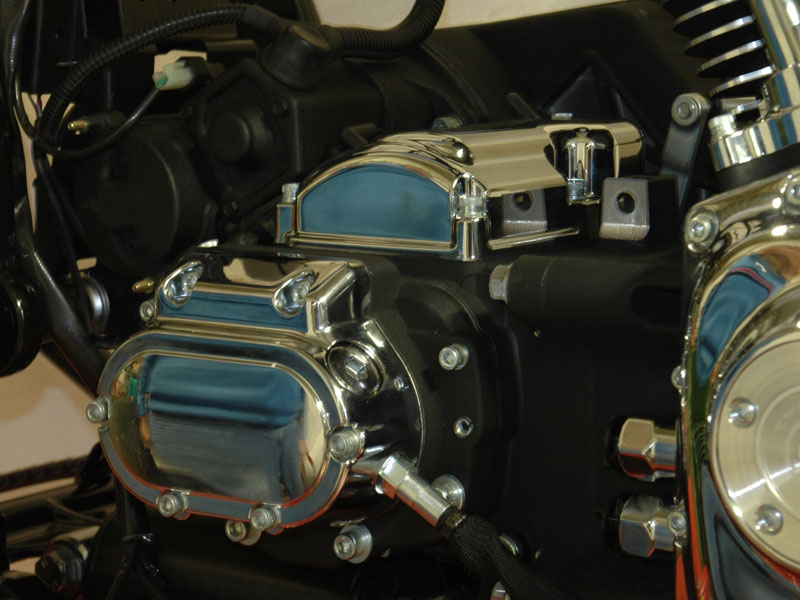 | Check the transmission case cover on the right side of your bike and remove your exhaust system in case it is covering the transmission cover. |
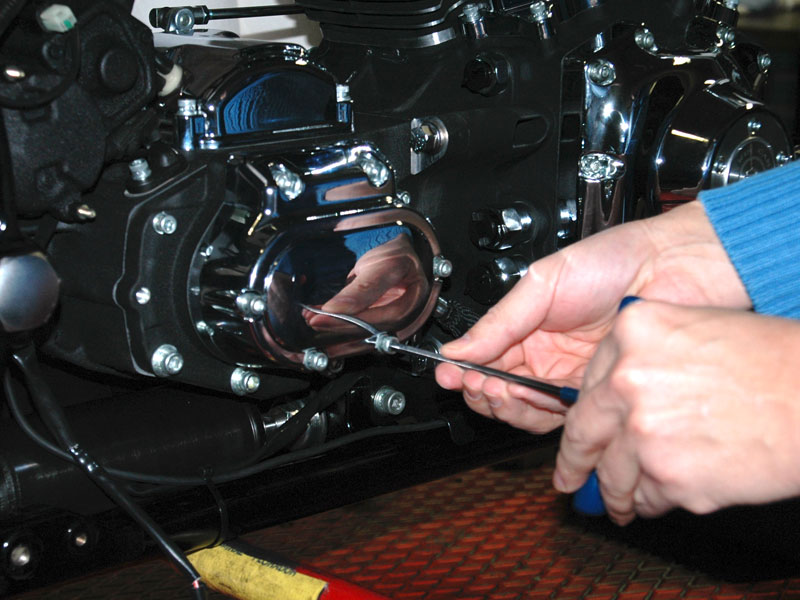 | Take a clean oil bowl and put it below the transmission cover and then start removing the six screws of the transmission cover carefully with a x/x allen wrench. |
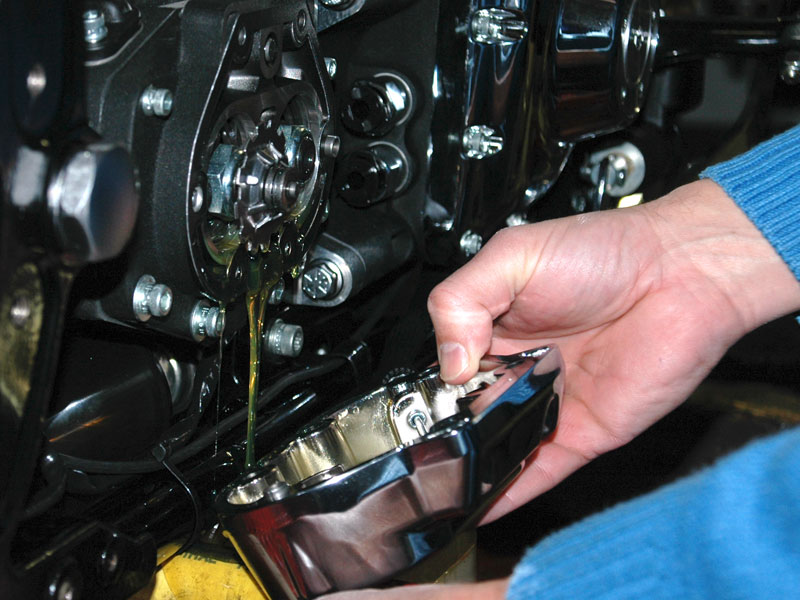 | Now remove the cover with care (oil will exit the transmission case!). |
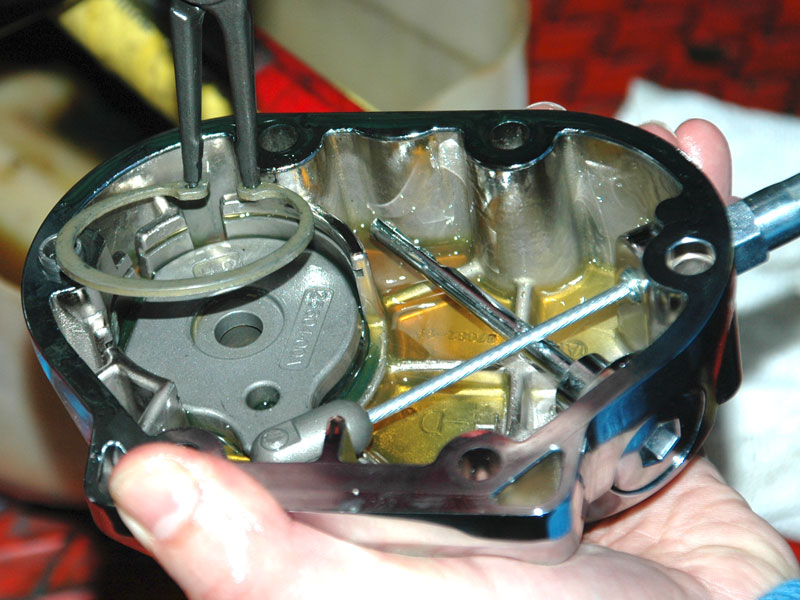
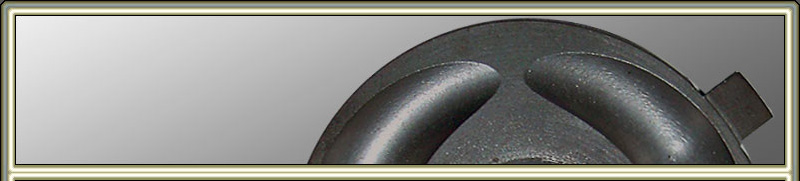
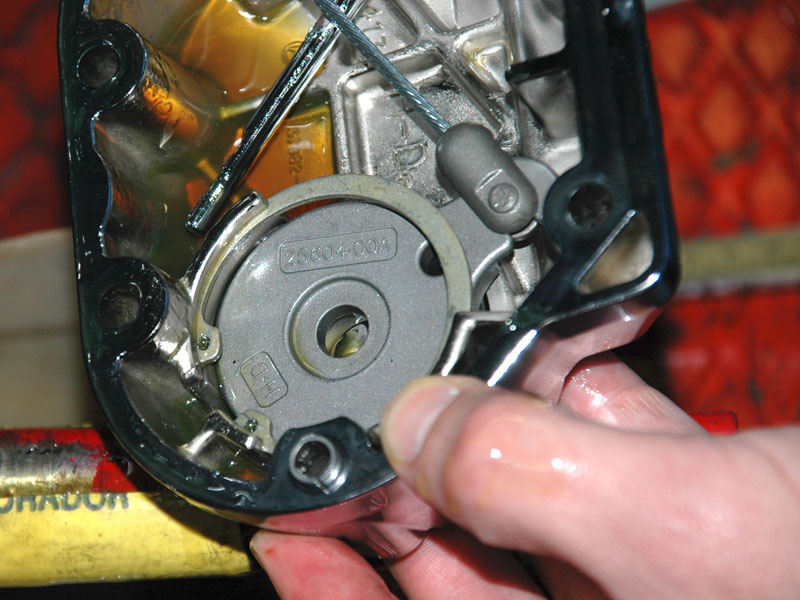 | Look at the inside of the removed cover and see the OEM-clutch drive unit. The inner plate will be exchanged with the Clutchlite. |
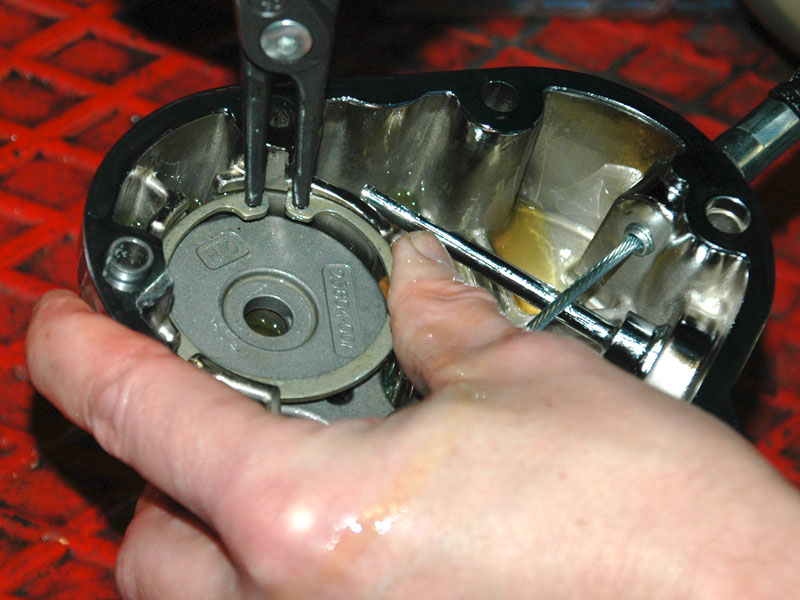
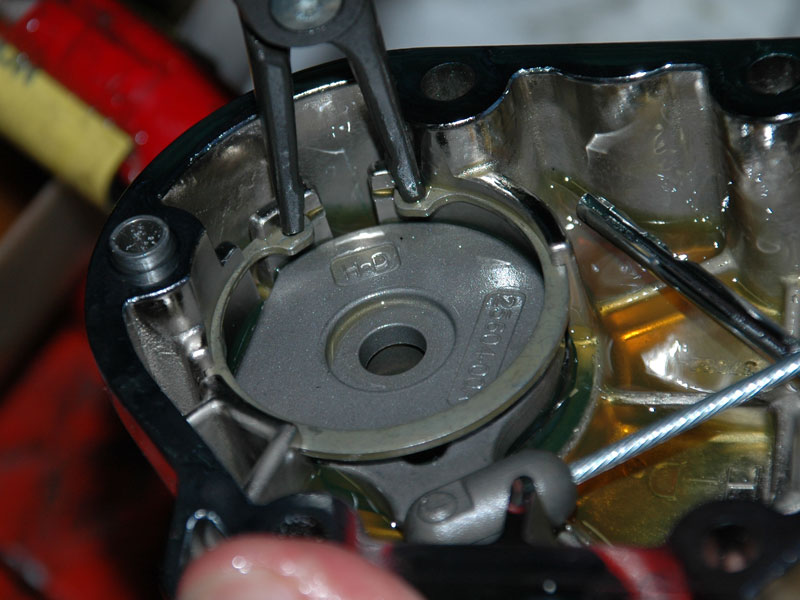 | Remember the exact position of the retaining clip before you start to remove this clip (later it has to be fitted at the same position to the gap in the cover). Now take a pliers and ... |
 | ... remove the retaining clip carefully. |
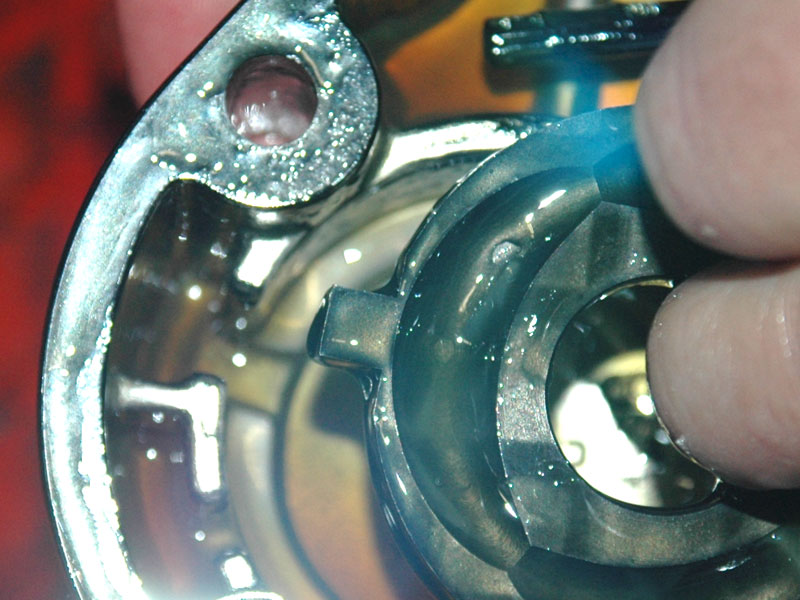 | Take both clutch drive plates out and exchange the inner one with the Clutchlite. Insert now the Clutchlite with care. Clutchlite has to fit in this slot! |
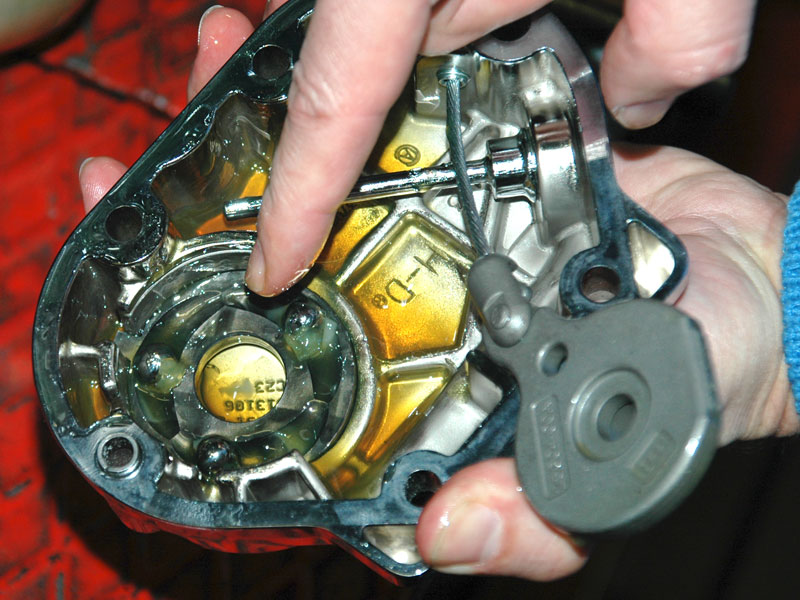 | All three balls may be mounted with some grease into the Clutchlite curves. It will keep them in the correct position when the outer OEM-plate will be mounted. Watch these tree balls when mounting the OEM-plate now! |
 | Insert the retaining ring now but watch your fingers! After that, turn the retaining ring until it has reached the original position. |
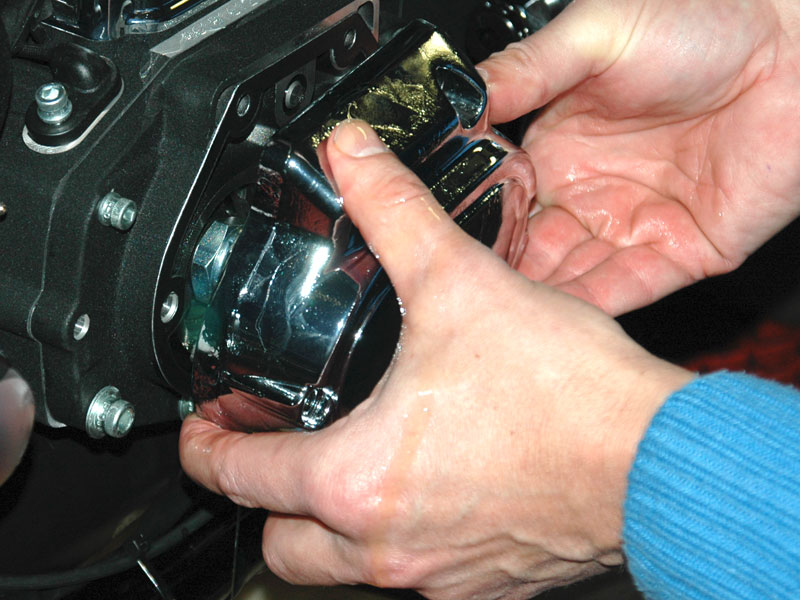 | Fit clutchcable and then the cover on the transmission case but watch the two center bolts and the gasket fit. |
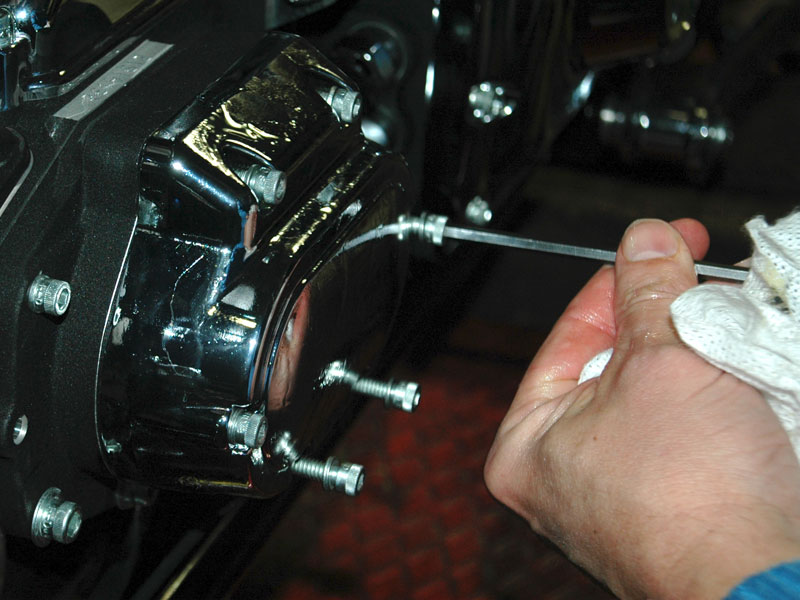 | Turn all six srews into the cases but dont tighten them (cover should be left loose)! |
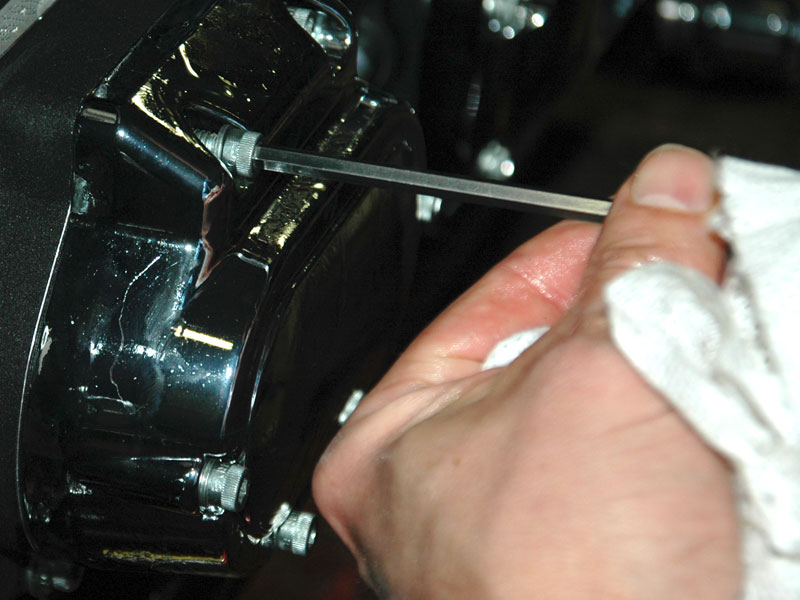 | Tighten all six screws now crosswise and refill transmission oil to the correct level. |
- Home
- Product
- Sources of Supply
- Installation
- Contact